Setting Up VFX Scenes, The Basics

Making a solid VFX edit depends heavily on the shots in which you edit. So if you have a shot that requires heavy VFX development and it isn’t set up right, your VFX isn’t gonna look as good as anticipated.
Related image
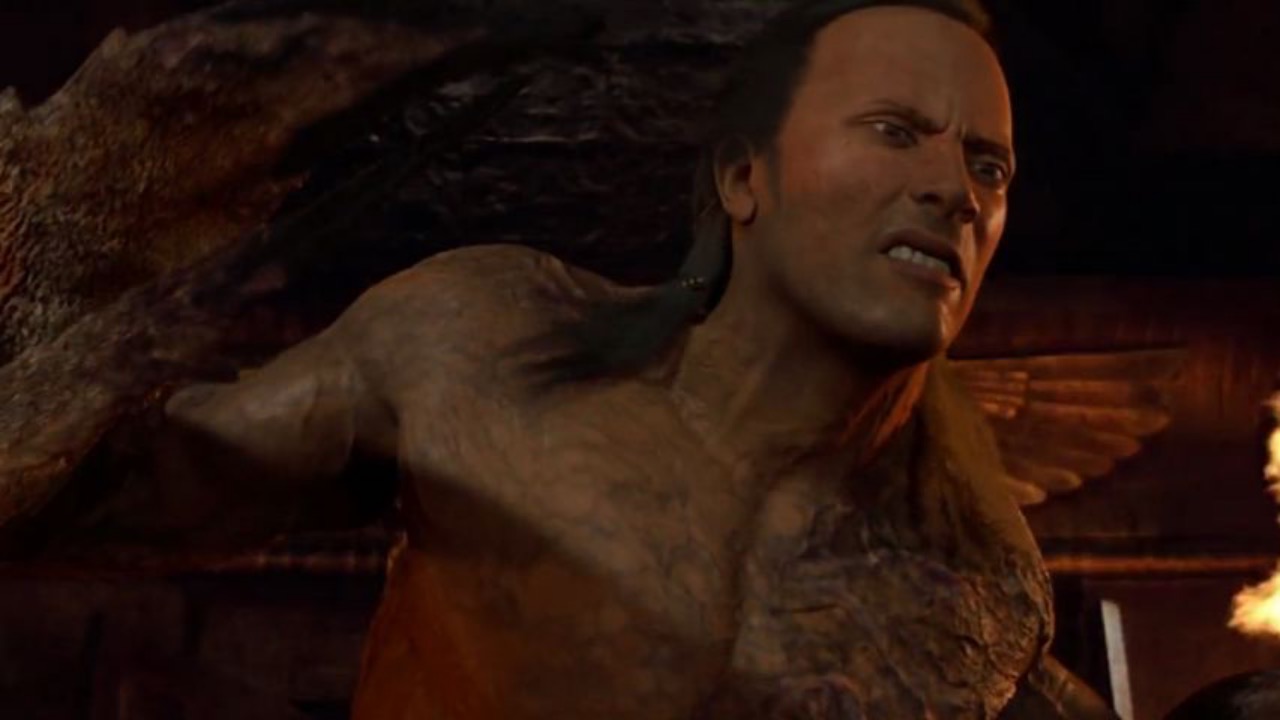
The Mummy Returns, Crab Monster Thing, featuring The Rock

A good starting point would to set up two shots, One with a green screen and one without. With this method you have the green screen footage in which you can play with and the other footage (in which should be the same movement and same frame, just without the green screen, and actors) you have to stick behind the chroma key. With the chroma key you can add different background and effects without having to roto out the actors. Which will bring us to the other technique, which is rotoscoping. With this you don’t have to use the green screen, you can simply select and make your actors a seperate layer without destroying the background. The only issue to this is, the fact this will take a while and is very tedious. However if you can master this technique then, this can very efficient to your set. Another technique to help your VFX scenes would be making track masks. There is a plug-in in After Effects called Mocha AE, in which you can draw and adjust track masks of your subject, This kinda acts like rotoscoping however you apply this effect to work as a mask, this mask will follow your subject around a scene in which you can work your VFX magic around. So just take one of these techniques and try them out, it will be beneficial to practice.

The Biggest Thing Every VFX Artist Should Master

Imagine that you just finished this insane explosion sequence within a forest, and rendered it out. After god knows how long, you take your first peak at it. The explosion, the main focus of attention on this scene looks off. The explosion itself shakes a little and at some points sits in front of the trees and looks wonky. This issue is an simple fix, but tedious. This blog generally centers around After Effects and soon Blender however these tips can apply in any program, even Nuke.

Point_Cloud_Generator
Nuke

Tracking. This is the most important factor in any VFX shot. Tracking is vital to match the camera movements.  A problem that people have when tracking is that their track point or plane constantly moves around. Now these tips are going to help individual tracking systems, because there are two, Planar Tracking and Point Tracking. Planar tracking is tracking system that uses a spot of texture to apply a plane to in order to track it. So when your plane is flying around It’s because the plane doesn’t have enough texture to grab on to, maybe someone in your shot it moving and the plane runs into that person. The best way to fix this is whenever the plane runs into a moving object simple pull the anchor points, and move the plane out of the person’s way. If the problem is that there isn’t enough texture, simply select a different area and re-track or select a smaller area. If this still doesn’t fix the issue, try using a point tracking system. A point tracking system is a system of tracking in which by name, uses a high contrast point in order to track. The best way of going about this is, simply duplicate the original clip, add some sort of sharpening effect and crank it way up. Then point track the highest contrast point there, once that is done export the tracking data to either a layer or a null object (a data placeholder). Then delete that duplicate layer and you are all set.

mocha ae


Video Copilot’s Best Plug-In yet?

Video Copilot is a blog/website run by Andrew Kramer, which pushes out very useful plug-ins, free and paid. The more well known plug-ins are Element 3D and Saber. However Video Copilot does have around four free plug-ins as well as four paid as well, but what plug-in is the best?

Saber
Video Copilot’s Saber

Within the free category, the plug-ins are going to have limited uses right? Well over the course of two years of simply messing around, I’ve found that I seem to use the free plug-ins more than expected. For example I made an Blender intro and exported it as a series of .pngs, and imported it into After Effects. I used the auto-trace option, which traced the outline of the text and made into a mask. I made a solid layer and put the saber effect on it, then copy and pasted the layer mask on the solid layer. Then under the customize core option within the effects panel selected the use masks. option. This made a cool looking electric look around my text. The simple customize core option is what makes this plug-in have more than one simple use. This is the premise of what makes a plug-in great.


E3D2_FI
Video Copilot’s Element 3D


So what paid plug-in from Video Copilot has the most uses. The answer is simple, Element 3D. Now this answer is a bit biased on the fact that this is a VFX blog, and the use of 3D elements are almost necessary. Simply this plug-in has the most uses in the VFX world. If you’re using After Effects for the motion graphic aspect then the best paid plug-in would be Twitch. Twitch is a plug-in that adds camera shake with blur, scale, position, etc. This would be useful for simple intros for businesses and organizations that want a minimalistic design and also useful for heavy intros like 3D ones as well. The use for Twitch in VFX is also pretty great.  When I add an explosion into a scene, I tend to add camera shake, from twitch. So go out there and get some plug-ins bois, they are pretty useful and worth the money.